Workflow
The session
While a WeightLattice session is active, a status line at the top of the viewport shows the available keys for the current mode (see Interface). When no session is active, all WeightLattice shortcuts fall through to Blender’s native keys — they never shadow your normal Weight Paint / Edit shortcuts.
Weight Paint mode
This is where a lattice is born. With the WeightLattice vertex group active:
Entercreates the cage from the painted weights — or opens the existing cage if the group already has one.Urefits the lattice: the bounding cage is recalculated from the current weights and the control points are reset to their rest positions. Use it after repainting the region.Qswitches to Edit Lattice,Shift+Eto Edit Mesh,ESCexits the session.
Edit Lattice mode
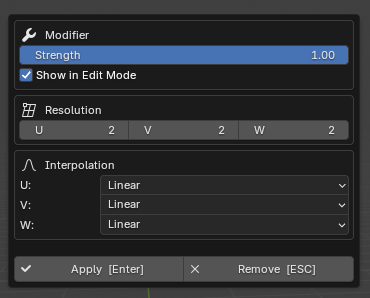
Reshape the cage; the mesh follows in real time.
Resolution (U/V/W) and Interpolation are set from the N-panel or the
Alt+Cproperties popup.Strength blends the deformation from 0 to 1 and updates every linked mesh in real time.
Show in Edit Mode displays the deformation while editing the mesh.
Enterapplies,ESCremoves without applying.
Edit Mesh mode
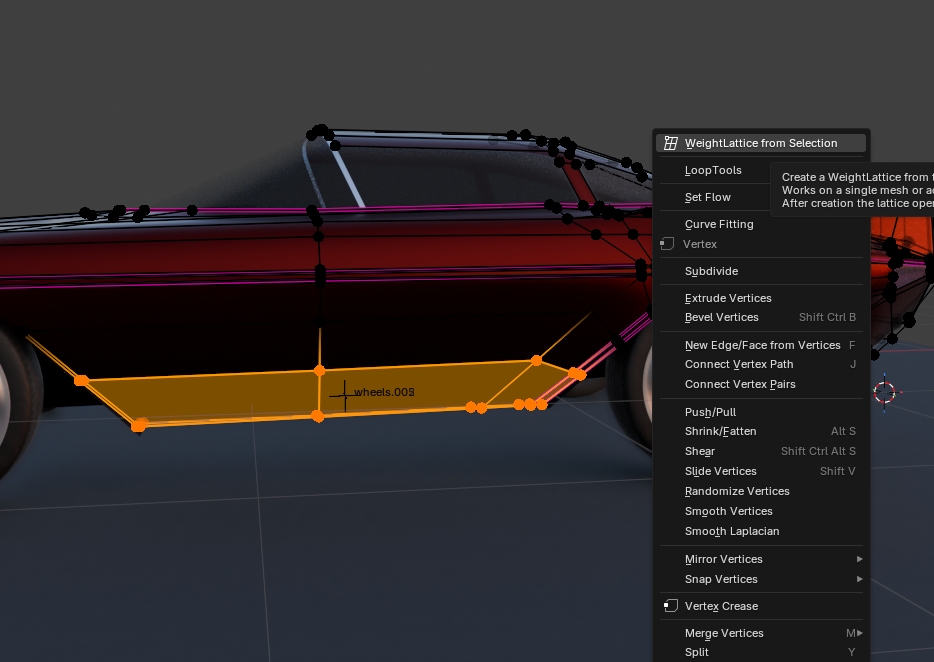
Fine-tune the group by selection instead of painting:
Add Selected / Remove Selected assign or remove the selected vertices from the WeightLattice group.
Select Weighted Verts selects everything in the group.
Lattice from Selection creates a whole new cage directly from the current vertex/edge/face selection — no painting needed.
Multi-mesh shared cages
Select several meshes in Object Mode (or work in multi-object Edit Mode) before creating: a single cage shared across all of them is built. The Strength slider updates every linked mesh at once.
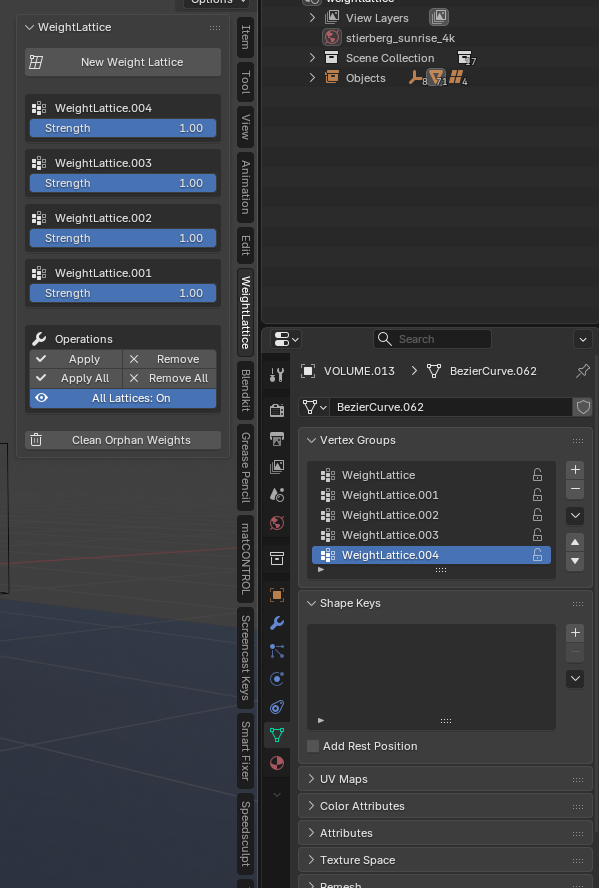
Under the hood: one group per cage
Every cage is driven by its own WeightLattice vertex group on the mesh, visible in Object Data Properties > Vertex Groups. This is what lets several cages coexist on one mesh without interfering.
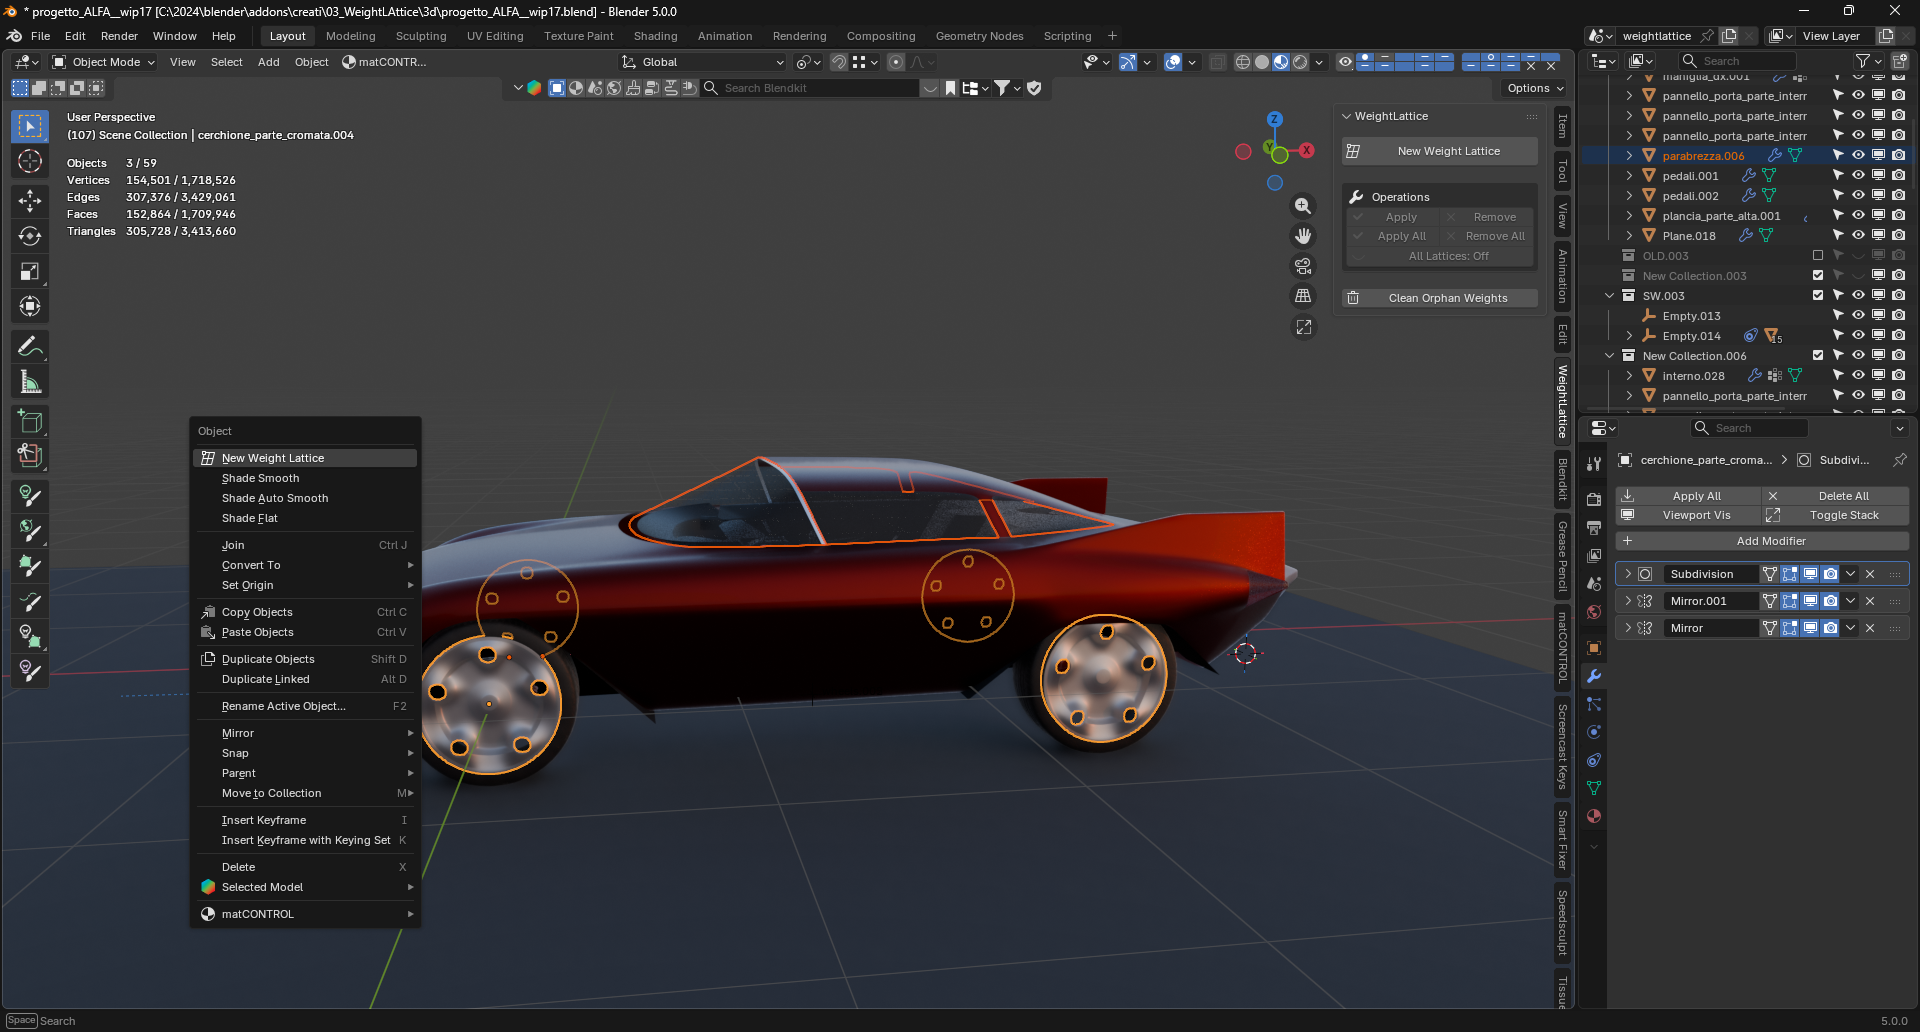
Object Mode housekeeping
From the Object Mode sidebar:
Apply / Remove bake or drop the active lattice; Apply All / Remove All act on every WeightLattice on the mesh.
All Lattices: On/Off toggles the viewport display of every cage — a non-destructive preview of the mesh with and without the deformations.
Clean Orphan Weights removes leftover WeightLattice vertex groups that no longer have a cage.